If you’d like to install Windows but don’t
have a DVD drive, it’s easy enough to create a bootable USB flash drive
with the right installation media. Here’s how to get it done for Windows 10, 8,
or 7.

In this
guide, we’ll be making a simple USB drive that acts just like an
installation DVD, and lets you install one version of Windows. If you’d like to
create a USB drive from which you can install multiple versions of Windows,
you’ll want to follow these
instructions instead.
Step
One: Create or Download an ISO for the Windows Installation Media
Before you can create your USB installation drive, you’ll
need to have your Windows installation media available as an ISO file. If you
already have an installation DVD, you can use it to create an ISO
file using ImgBurn, a handy little free utility that’s been around
forever. If you don’t have Windows installation DVD, you can download ISO
files for Windows 10, 8, or 7 directly from Microsoft.
You’ll also need a minimum of a 4GB flash drive to create
your installer. Be sure to copy anything you want off of it, because this
process will erase it. Once you have both your ISO and flash drive
in hand, you’re ready to continue.
Step Two: Create Your
Installation USB Drive with the Windows USB/DVD Download Tool
With your
ISO file saved to your computer, your next step is to download and install the Windows
USB/DVD Download Tool. The description on that page, on the actual
download page, and on the tool itself talk a lot about Windows 7 and even XP.
Don’t let that worry you. The tool works just fine for Windows 7, 8, and even
10.
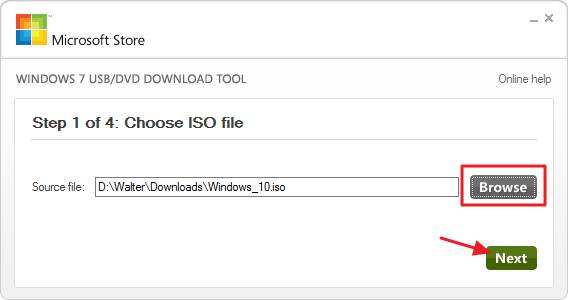
Once
you’ve got the tool installed, creating your USB installation drive is a
pretty straightforward process. Run the tool and give it permission to make
changes to your PC. Click “Browse” to locate your Windows ISO file and
then click “Next.”
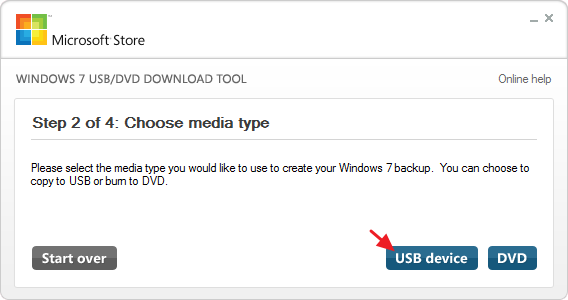
On the next page, click “USB device.”
The tool can also burn the ISO to a DVD if you need that option.
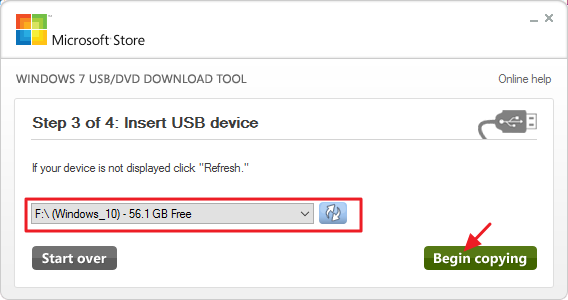
Use the drop-down menu to choose the USB
flash drive you want to use. If you haven’t inserted it yet, do that now, and
then click the Refresh button. Once you’ve got the right drive selected, click
“Begin copying.”
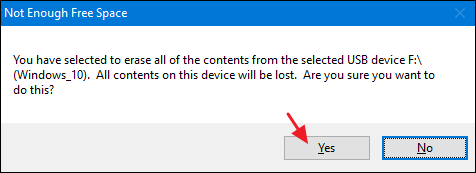
If your USB drive has anything already
on it, you’ll next see a warning that it will be formatted and you’ll lose any
data stored on the drive. Go ahead and click “Erase USB Device.” If you started
with a newly-formatted USB drive, you won’t see this warning.
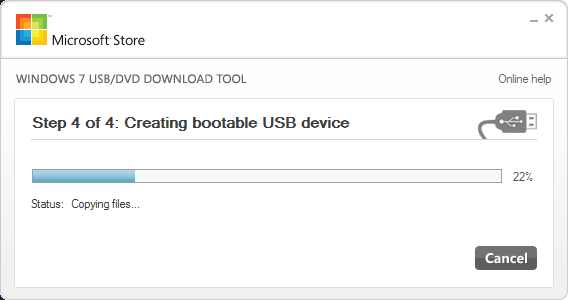
Now you just have to wait for the process
to complete, which usually takes 15-20 minutes. The drive will be
formatted and files copied to the flash drive.
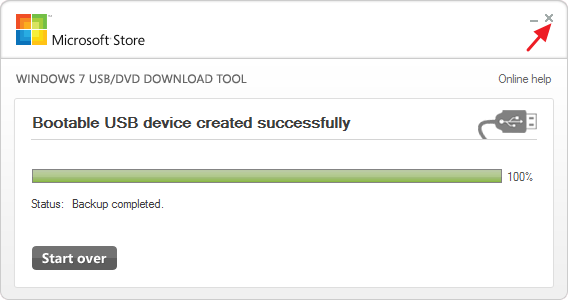
When the process is finished, you can
close the download tool.
If you take a look at the flash drive in
File Explorer, you’ll be able to see the same files that you would if you
opened the installation DVD.

And now that you have your installation
USB drive, you can use it to start the computer on which you want to install
Windows. You may have to fiddle with the BIOS on the
computer to allow it to boot from USB or to change the boot order so that it
will boot from the USB first. You may even be able to use the disk on computers
that don’t support booting from USB, but you’ll need
to take additional steps to create a bootable CD.


0 comments: